LLAP...
I'm getting there. I was just waiting for this.

This little bugger cost way too much. But I had to have it, to set up the cam properly. It is an 'offset key' that shifts the engagement of the camshaft by 2 degrees.
Anyhow, that's done. I installed the key and rechecked the timing as I described in my last post. This time, I got (61 + 153) = 214 / 2 = 107. That's spot on. I'm within a degree and that's good enough for what I can do.
I buttoned up the sump, installed the oil thrower and timing cover and crank pulley, and the bottom end is complete.

And I cleaned, too!
After a short celebratory rest, I turned my attention to the head. My plan was to polish the combustion chambers, and port and polish the exhaust ports. I intend to leave the intake ports alone because they already match the diameter of the intake manifold, and I have read that a little 'swirl' (turbulence) is helpful to mix up the intake charge. Maybe I'm full of it, but that's my story and I'm sticking with it.
Here's the head before I did anything.

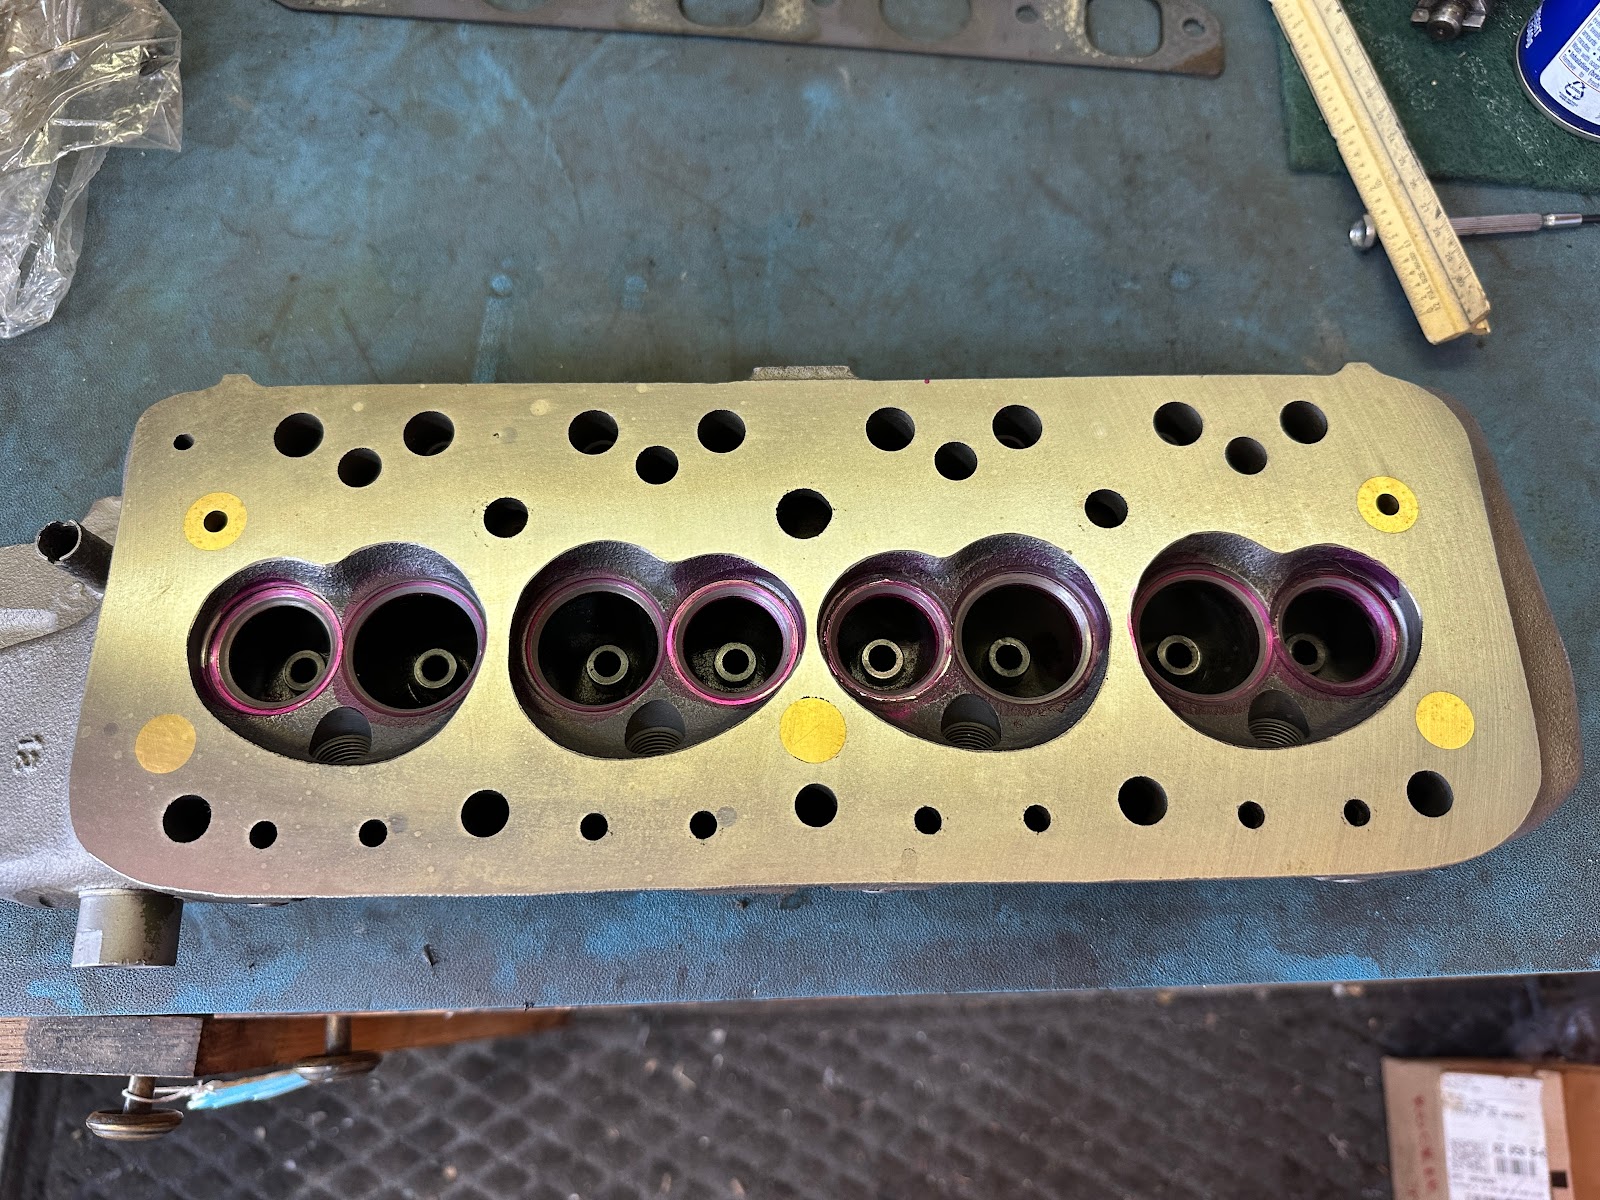
Nothing special, right? Right.
All I did was spend a lot of time with near-infinite patience to gently polish the combustion chamber surfaces to be as smooth as I could get without going mad. I think I did okay. I used a small tapered grinding stone and some cylinder and cone-shaped sanding tubes. I think I got away with it. I did not appreciably increase the size of the combustion chamber. Here's a comparison:
And the final result:

Who knows if it will help things.
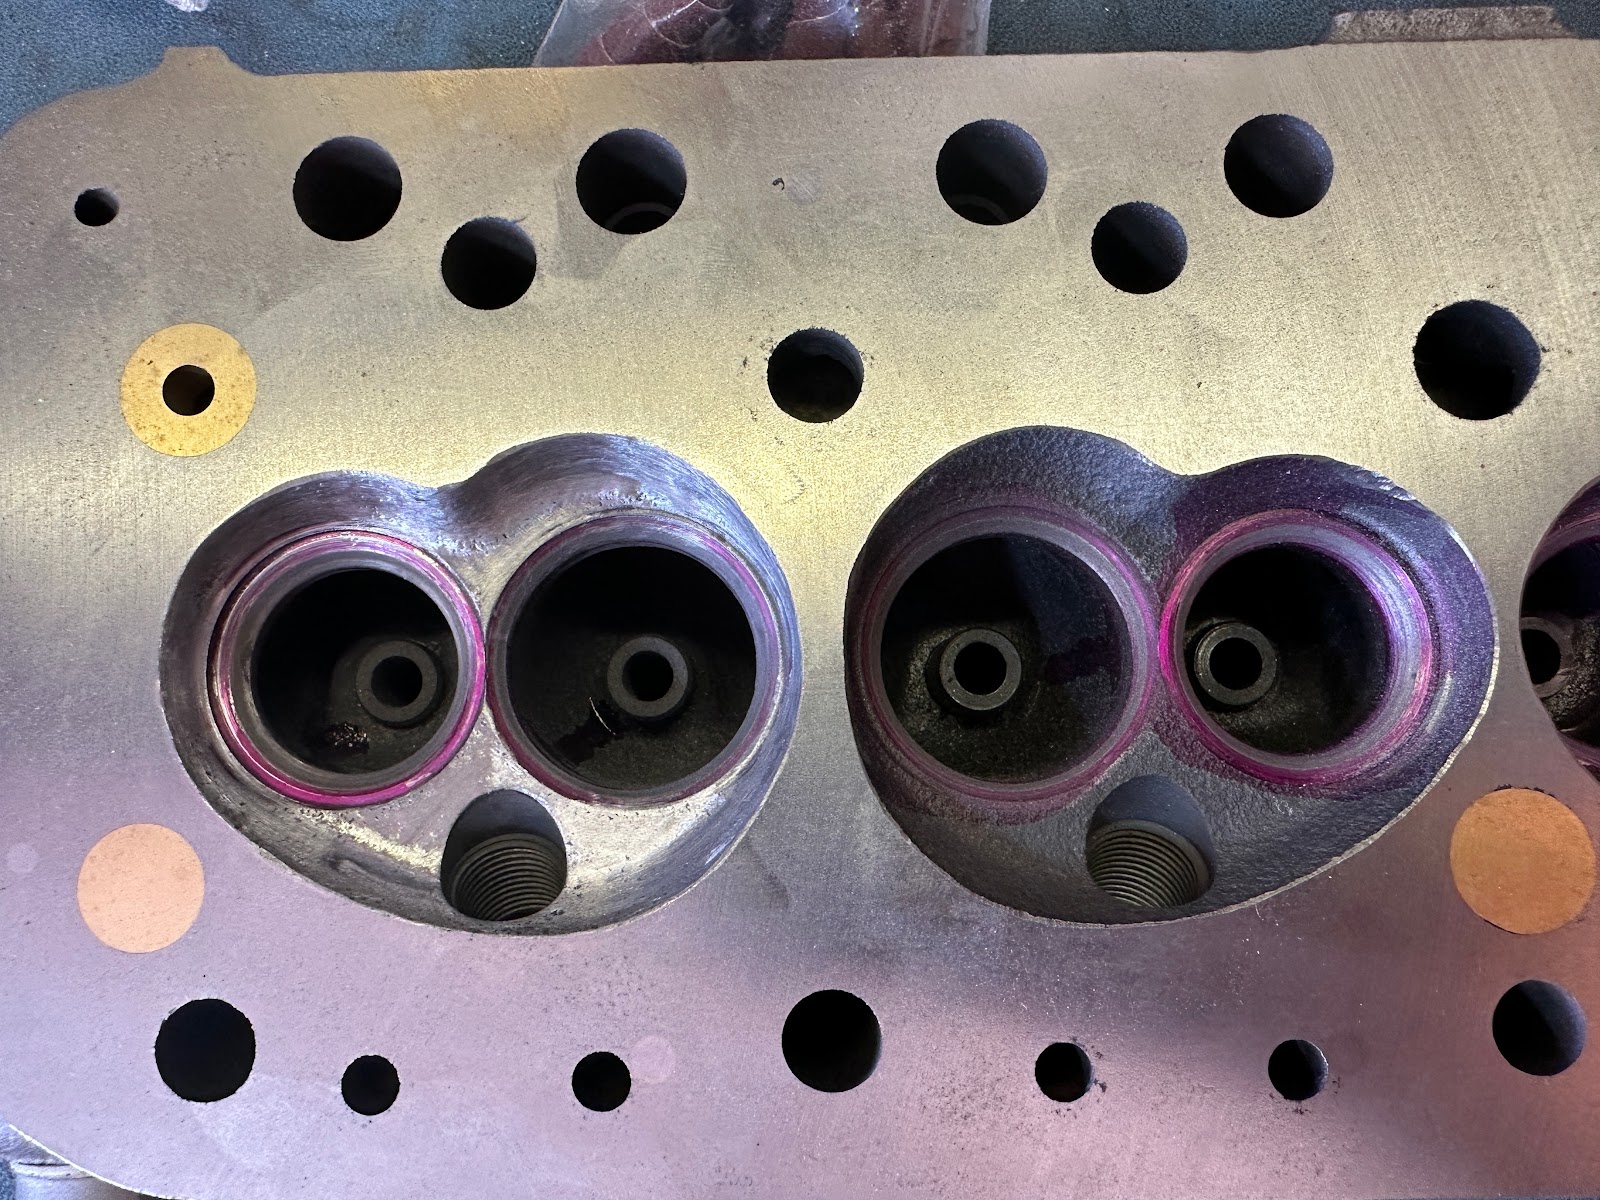
The real gain I intended to reap was in the exhaust ports. The port openings are significantly smaller than the manifold's openings as evidenced by the buildup on the manifold gasket. So I got to work with that tapered grinding stone. I managed to open things up quite a bit without screwing things up. After the grinding stone, I used those tapered cylinders up to 240 grit to smooth things out. Exhaust is one area where you do NOT want swirl; it will slow the exiting gases and you want them to leave quickly.
Here's a before and after comparison. The blue marks are where the gasket is larger than the port (and mot matched), and that's what I opened up.


I think that's a lot. I had to be careful not to break through to the pushrod holes, because that would have been A Bad Thing.
Here's the finished product.


I painted the head after cleaning all the gunk out from the porting process.
No comments:
Post a Comment
All comments are moderated and published upon review.