Thursday, December 29, 2016

We Have You Surrounded

Today, I got to work on the vinyl side of life.

I finished covering all of the surround pieces.  Here's the finished product.


First up was those little filler pieces.  I started with those because it would take the least amount of effort to strip them if I screwed them up.  But I didn't!


I think they look pretty good.  The holes are where the screw goes to hold them in place.  There is a clip on the back as well.

Since I was on a roll, I took on the door trim pieces.  Here's the driver's side done, and in place on the door.  The top piece is the old vinyl, and the bottom is the finished product.


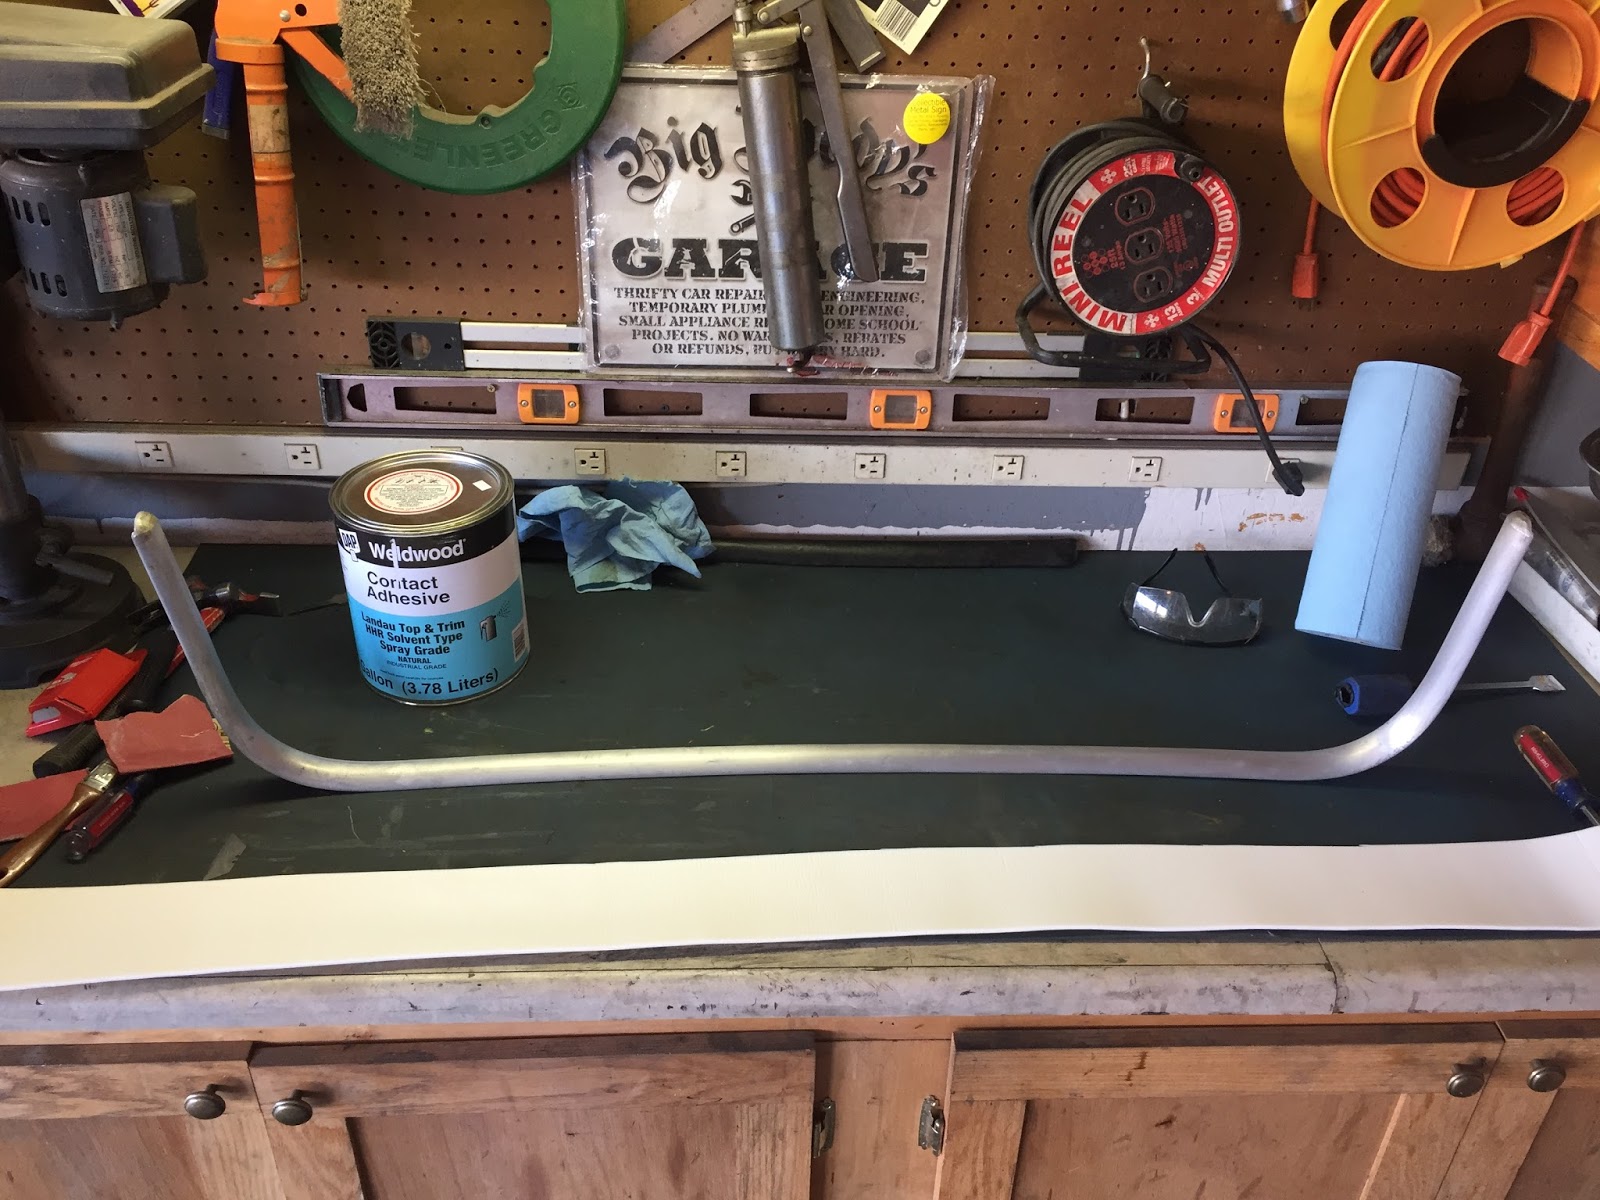
Now that the easy stuff was out of the way, I tackled the rear surround piece.  This was the hardest of the lot given its size and shape.  Just getting it and the vinyl coated in adhesive without making a big mess was a victory.  But after an hour of work (most of it spent wrapping the vinyl around the ends and making it look good), it was done.  It looks "pretty good", which is not "great" because I'm picky.  But it is waaaaay better than the ugly that it was.


Finally, I worked on the front "crash pad".  The original foam isn't great, but I managed to piece it back together and fill a couple of defects with "foam dust" from filing the foam down to even out the shape.  It's decent.


Once I put the vinyl on it, it looked 'pretty good'.  Again, not 'great' because the foam is old and a bit lumpy.  But it's still lots better than it was before, and I bet I'm the only one that will think it's not 'great'.


Again, here's the final product... All in all, not a bad job.


More... »

Wednesday, December 28, 2016

Cockpit Surrounds I

While I wait for seat stuff, I decided to tackle the cockpit surrounds.  These are the trim pieces that fit around the inside of the car and (snort) act as minimal protection in the event of an accident.

The front "crash pad" is original but the vinyl is cracked.  Here it is.


Here's what's underneath.  Unfortunately, the foam is not available.  Fortunately, the foam is in pretty good shape--good enough that I can reuse it.  I'm going to have to, since it's a formed piece and I don't think I can reproduce it.  The tape is just holding it in place on the aluminum backing.


I also have the pieces that fit on the doors, where you rest your arm.  There's a couple of small filler pieces too.  I had refinished those, badly.


Once I stripped the vinyl, they are nice and clean (and made of aluminum)...


The old glue that was on there was tough stuff.

Now that they're clean, it's time for the first stage of recovering: foam.  The last time I tried this, I didn't use a strong enough glue (and crappy foam).  There is a special temperature-resistant trim adhesive made for this kind of work.  Here it is.  This stuff isn't cheap and only comes by the gallon. You can't even buy it in CA because it will probably kill you.  Of course, CA thinks everything will probably kill you.


I decided that instead of laying the vinyl over the bare metal, which means the door trim gets REALLY HOT, I would put down a thin (1/16") layer of foam first.  It should add enough insulation to keep from burning my arm where I rest it on the trim, yet be almost unnoticeable.

The instructions on the adhesive state that it adheres instantly.  Boy, they are right.  You get one shot at it, and if you don't like it you have to strip it all over again.  I found that out the hard way on the first attempt.  And wow, does it hold.  I have no worries that this stuff will come apart.

So here they are after applying the foam.  I had to seam the foam at one point because the pieces I could buy weren't long enough.  I think it will work fine and won't be noticeable.  It also has just a little give to it, which is nice.


Last thing for today's episode is the rear trim surround.  I won't show you where I started since it's embarrassingly bad (and I didn't take a pic).

Here it is, stripped...


And here it is with a 1/8" closed cell foam overlay.


I think these will turn out really well.  I have a roll of matching vinyl that came with the panel kit, which I'll use next time we meet.

One thing though--this adhesive smells.  Either that, or there is a reaction between the adhesive and the foam that makes a smell.  I hope it fades soon.
More... »

Wednesday, December 21, 2016

Seat Teardown

I have some time off around Christmas, so I've been taking care of some last minute shopping and some honey-dos (restoring a desk).  In between, I've managed to get a few things done on the Midget.

I cleaned up the gas tank, which was grungy outside but clean as a whistle inside.  The fuel sender works fine and all I need is a new gasket.  It's a tank for a later Midget but I modified it to take the earlier sender unit.


I disassembled and cleaned the rear springs, too.  Everything's in good shape here.


And I tackled the seats.  I thought the seats would be easy.  They didn't look too bad.  I mean, you tell me.


But then I got down to business, and in the words of the immortal, late Chris Farley, OH MY GOD!


Oh, and one of the seat bases is rotted and needs repair.  I can fix that, though.  I know a pretty good metal worker.


I wasn't planning on this.  The seats were comfortable enough.  But those cushions are horrible, and have enough defects in areas that will show that they'll look bad even if I clean them up and put the new covers over them.  So now I've got to dig up some more cash... *sigh*

EDIT: Seat bonus cash found!

More... »

Thursday, December 8, 2016

More More Parts!

I got a big box today.


Inside was another not-quite-as-big box.


Inside that box was... a panel kit!


With extra vinyl for the door and cockpit surround pieces.  My last big order is complete, once I get the clips to install it.

I'm getting impatient to paint the bodyshell.  I'll have to keep myself occupied with cleaning up the last few trim items I have and then turning my attention to finishing the filler and sanding work.

More... »

It's Not Easy, Being Green

While working on some small jobs in preparation for paint (ha!), I found this hiding underneath the license plate illuminator...


It is the original, unmolested, unfaded color of the car.

I have something to match against!  This is a good omen.
More... »

Tuesday, December 6, 2016

More Parts!

Christmas came early for me this year... I was able to place a parts order for what I think is everything I need to finish the car, aside from painting it, that is.


I do mean everything.  Big stuff like mufflers and oil coolers, carpet, interior panels, door locks, and seat belts to little things like clevis pins for the parking brake, chrome screws for the tonneau cover hold-down, you name it.

The panel kit's not here yet, but it won't be long.  The rest is all tucked away nicely and waiting for the big day.

Tom's Import Toy Sales is awesome.  They worked with me to correct misordered parts and were able to do better than the Moss sale pricing, meaning I got 25% off this pile.  That's real money.  I enthusiastically recommend them!  I did have to order a few things from Victoria British because they weren't available from Moss (like those clevis pins) but that's small stuff.

Now, if I can just get a paint job, I'll be in business.  I guess I need to work on finishing up the body.
More... »

Thursday, November 24, 2016

Steer For The Deep Waters Only

That's Walt Whitman I'm quoting. I've always liked his writing.

"Sail forth, and steer for the deep waters only. Reckless O soul, exploring. I with thee and thou with me. For we are bound where mariner has not yet dared go. And we will risk the ship, ourselves, and all."

Anyhow, on the subject of steering... Time to put the steering rack back together. All the parts are now clean and painted.


First up, the rack...


Followed by the pinion.


Next, the felt seal and the cover. The steering shaft holds the cover in place.


That's the hard part.

Now, time for the tie rods. Note my clever marking of the tie rod on the passenger's side. It's probably not necessary, but I might as well put it back where it came from.


That little chisel made securing the lock washers as easy as it was to remove them.

Now, let's put our boots on..


Adding the tie rod ends means we're all done. I counted 20 threads in the picture I took before disassembly, so I think the alignment will be close enough to get started.


Now it's time to put it on the shelf. I'm actually out of shelf space. Good thing I'm just about out of parts to clean.
More... »

This Air Is Clean

After some more delicate pounding, priming, and sanding, the final result...


All I need are the filters, and I'm all set.  I'll give these a good week to dry before putting them away.

EDIT: Now with sticker awesomeness.  I have new air filters, too.


More... »

Tuesday, November 22, 2016

I Got 99 Problems, But a Steering Rack Ain't One.

I got off work a little early today for the holiday, and I figured I'd make use of the extra time to start work on the steering rack. It's my last major teardown project!


There's nothing really wrong with it, thankfully. It's just dirty and needs new tie rod ends.

I would like to have some idea of the alignment, so I took pics of the threads after removing the ends...


Check out these tie rod ends. The bummer is that they work fine, but the boots are toast.


The steering rack boots (the "gaiters") are fine, so I'll keep them...


The pinion (the turny part to which the steering shaft is connected) is what runs the rack (the long part that's hooked to the front axles). Turn the pinion, and the rack moves. That's why it's called 'rack and pinion' steering. It is very precise, and this car really handles like a go-cart. You can drive it with a finger, and point it at a fly and hit it between the eyes.

The pinion comes out the back. There is a bushing on each side and a retaining cover, and a retainer that locates the rack and keeps it from rattling around one on each side).


Next, the tie rods come off. The rod and ball are a single unit that screw in to the rack, and are locked in place with a lock washer. Getting that lock washer off looked like it would be impossible... but then I found a chisel that is exactly the right size to fit in the slot, and it was cake. Here it is in the photo along with the (now removed) rod. I'll sacrifice a cheap chisel to the cause.


Here's the steering rack, all disassembled. Everything inside is in pretty good shape, and it was nice and tight (but not stiff) before I took it apart. So no problems here...


So why did I do this, other than to clean it? I took it apart because I had filled the rack with grease at some point in the distant past. The rack doesn't take grease. It's filled with 90 weight oil. But it has what looks like a grease fitting... so that's what I did. It still did have some "oil" in it, which oozed out as I took everything apart. You can't remove the grease without disassembling the rack. Good thing I was already planning on it.

The dumb thing in this design is that there are no seals to keep the oil in. The rubber boots are what do the job, and as soon as they split, you're done. It should take grease. I might change to a lighter grease, but we'll see.

I won't fill it back up with oil (or grease) until I get ready to install it. It's really easy to fill when it's off the car. Darned near impossible when installed, though... because you need a special "grease gun" that can use oil instead, and I'm too cheap to buy one.

I'll run what I can past Master Blaster and clean it all up nice, paint, and then reassemble (stay tuned!). This was pretty gross, but not as bad as the rear axle was. That was the dirtiest job so far.
More... »